Have we ever face the error mysqli_real_connect(): (HY000/1698): Access denied for user ‘root’@’localhost’ when logging in as root on the mysql server? In this article, I will show how to fix mysqli_real_connect. The error message appears because indicates that the MySQL server denied access for the specified user (‘root’) trying to connect from ‘localhost’.
Mitigation Root Cause mysqli_real_connect
Before we start, usually there are several conditions that cause MySQL errors when logging in to root.
- Ran mysql_secure_installation and changed the root password. Then when try to login mysql using the root account while logged in Ubuntu as normal user account get access denied.
- In Phpmyadmin mysqli_real_connect(): (HY000/1698): Access denied for user ‘root’@’localhost’.
Phpmyadmin show error like below.

Fix the Problem
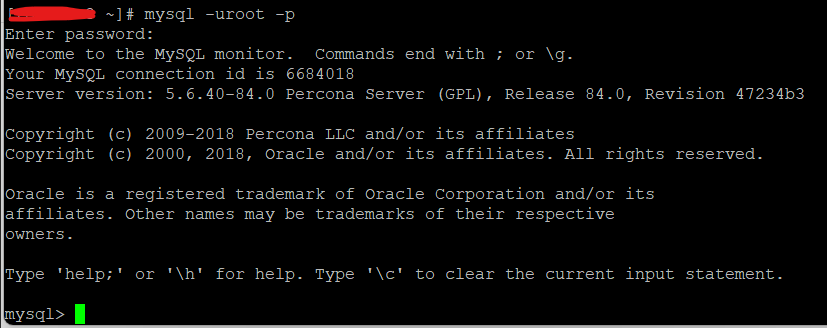
- At first, open mysql as root using sudo by running the following command.
sudo -u root Enter mysql root password. If successful, you will see a display like this.
- Update plugin from the mysql.user table which has the value user ‘root’ then Reload grant access..
UPDATE mysql.user SET plugin = 'mysql_native_password' WHERE user = 'root';
FLUSH PRIVILEGES;
Alternatife Troubleshoot.
The error message “Access denied for user ‘root’@’localhost'” indicates that the MySQL server denied access for the specified user (‘root’) trying to connect from ‘localhost’. Here are some steps to fix and resolve the issue.
A. Check Username and Password
Make sure using the correct username and password for the MySQL user. The ‘root’ user typically has full privileges, but it’s crucial to ensure the correct credentials are used.
B. Check Host and Port.
Verify connecting to the correct host (‘localhost’). Also, check the port number if using a port other than the default (3306).
C. Grant Sufficient Privileges:
Ensure that the user ‘root’ has the necessary privileges to connect from ‘localhost’. Grant the required privileges using the following MySQL command:
GRANT ALL PRIVILEGES ON *.* TO 'root'@'localhost' IDENTIFIED BY 'your_password' WITH GRANT OPTION;
FLUSH PRIVILEGES;
Replace ‘your_password’ with the actual password that used.
D. Check for Typos:
Sometimes, simple typos in the username, password, or host can lead to access denied errors. Double-check connection parameters for any mistakes.
E. Review MySQL Server Logs
Check the MySQL server logs for more details on the access denied error. The MySQL error log is often located in the MySQL data directory and named something like ‘hostname.err’. Look for any relevant error messages to get more insight into the issue.
F. Verify Firewall Settings
Ensure that there are no firewall rules blocking the MySQL connection. If running a firewall, open the MySQL port (default is 3306) to allow incoming connections.
G. Reset Root Password (if necessary)
Sometimes, we can suspect that the root password might be incorrect, you can reset it. Stop the MySQL server and start it in safe mode to reset the password:
mysqld_safe --skip-grant-tablesThen, connect to MySQL and update the password:
use mysql;
update user set authentication_string=password('new_password') where user='root';
flush privileges;
Replace ‘new_password’ with desired new password. Afterward, restart the MySQL server.
H. Check MySQL User Host
Ensure that the user ‘root’ is allowed to connect from ‘localhost’. You can check this by querying the MySQL user table:
SELECT user, host FROM mysql.user WHERE user = 'root';If ‘root’ is not allowed to connect from ‘localhost’, adjust the host field.
After trying these steps, you should be able to fix mysqli_real_connect Access denied for user ‘root’@’localhost’ error. If the issue persists, review the MySQL documentation and forums for more specific guidance based on your environment.
Source: Askubuntu with our modification.